Every safe flight starts on the ground—with a walkaround, a checklist, and a mindset rooted in responsibility. Whether you’re a student preparing for your first solo flight or a private pilot with 500 hours, mastering pre-flight checks is non-negotiable.
Pre-flight checks aren’t just about kicking the tires and lighting the fires. They’re your first line of defense against preventable accidents, in-flight emergencies, and costly oversights. When done properly, a pre-flight can reveal mechanical issues, low fluid levels, control surface problems, or even bird nests hidden in the engine cowling.
This guide breaks down everything you need to know about pre-flight checks—step by step. You’ll learn what to look for, what tools you need, and how to turn this routine into a habit that protects your aircraft, your passengers, and your license.
What Are Pre-Flight Checks?
Pre-flight checks are a systematic inspection of the aircraft and all its systems before engine start. They help pilots confirm the aircraft is airworthy, legal to fly, and safe under current conditions.
The FAA mandates that all pilots conduct a pre-flight inspection before flight under Part 91.103, which states that the pilot must become familiar with “all available information” before takeoff. That includes checking the condition of the aircraft itself.
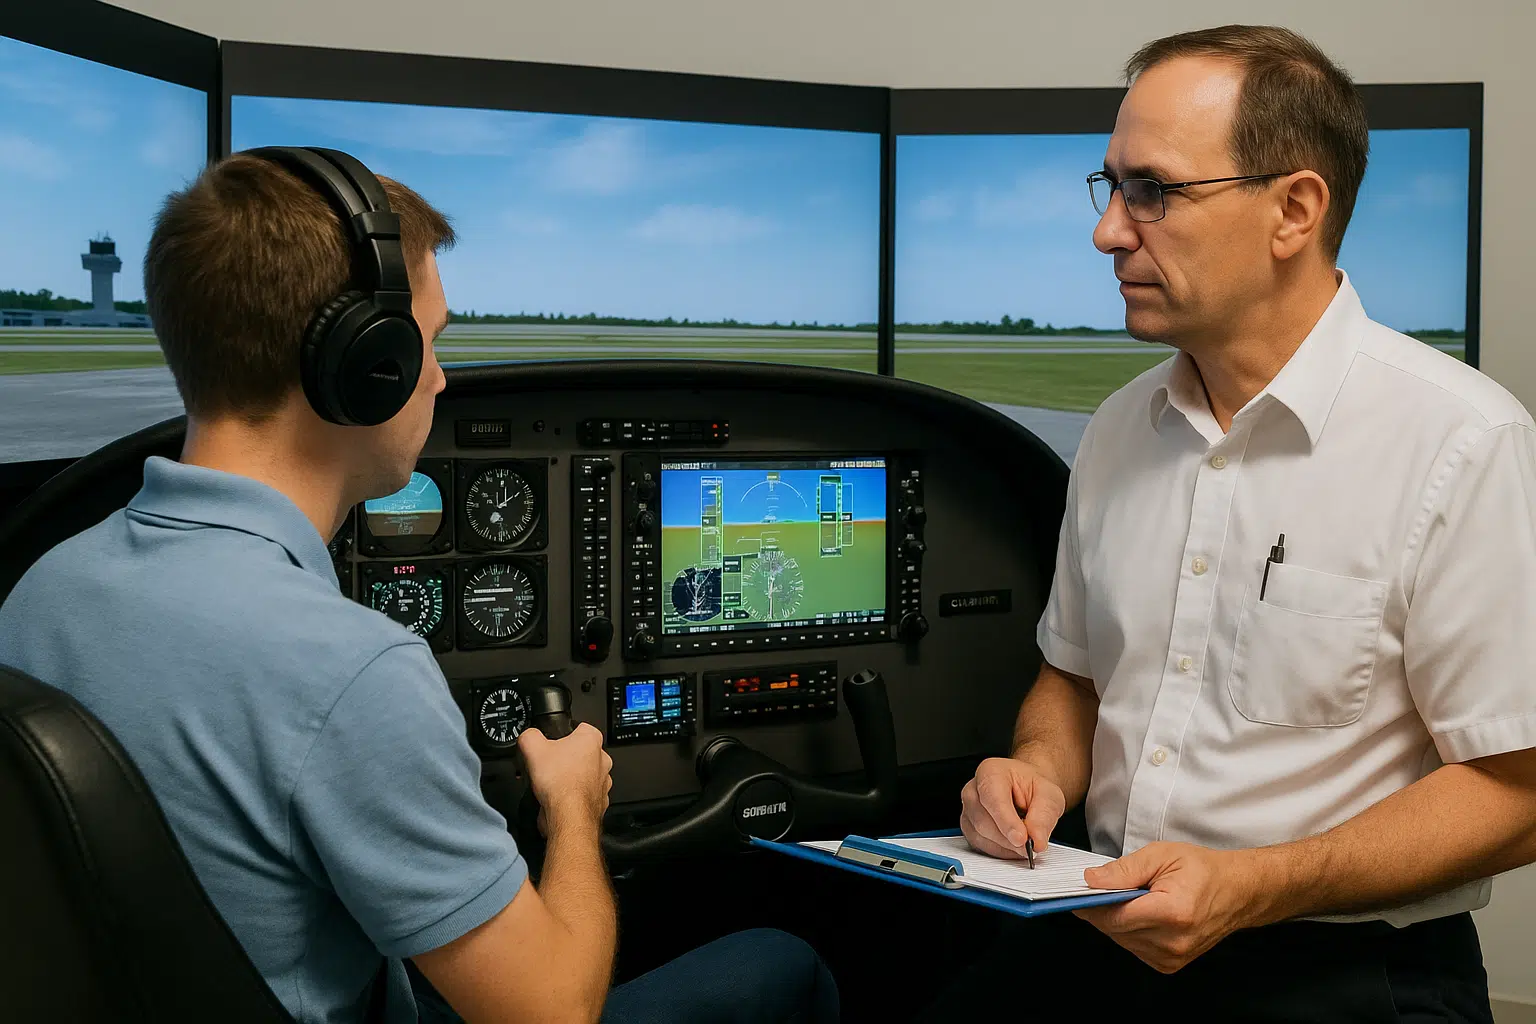
For student pilots, this process is often the first serious safety habit learned. For private pilots, it remains an essential ritual—regardless of how many hours are logged. Unlike post-flight inspections, pre-flight checks are proactive. You’re not assessing damage—you’re ensuring readiness.
The Importance of a Standardized Pilot Checklist
Every aircraft has its own unique quirks. That’s why using a standardized pre-flight checklist—not just relying on memory—is vital. Checklists are proven tools for reducing human error and improving safety in both commercial and general aviation.
Your pre-flight checks should follow a consistent, written flow based on your aircraft’s POH (Pilot’s Operating Handbook). Even if you’ve flown the same plane 20 times, subtle wear and mechanical issues can go unnoticed without a methodical inspection.
Many flight schools provide their own laminated checklist, tailored to their specific fleet. But you can—and should—adapt these checklists to your flying habits. Use printed versions, apps, or checklist binders that work for you. Just don’t skip steps. A missed fuel cap or unlatched door may seem small—until you’re airborne.

Tools and Documents You’ll Need Before Inspection
Before beginning your pre-flight checks, make sure you have the right gear. Being prepared improves inspection quality and saves time during the walkaround.
Here’s what you’ll need:
- Aircraft POH – For checklist references and aircraft-specific procedures
- Fuel tester – To check for water or contaminants in the tanks
- Flashlight – For early morning or late-day inspections
- Rag or gloves – To handle oil caps or inspect wheel wells
- Chocks or tie-down key – For added safety during prep
- Logbooks (if required) – To verify maintenance currency
- Weight & Balance sheet – Especially for solo or cross-country flights
Having these tools ready ensures your pre-flight checks are accurate and complete. Skipping or rushing through this step is one of the most common errors among student pilots.
Pre-Flight Briefing and Ground Prep
Before you step outside for your aircraft walkaround, your pre-flight checks actually begin indoors—with a thorough briefing and mental preparation. This step sets the tone for everything that follows and ensures you’re flying into conditions you fully understand.
Skipping this phase is a common mistake among student pilots. But if you overlook the weather, NOTAMs, or your own fitness to fly, you’re already flying blind—before even starting the engine.
Weather Briefing
Weather is one of the most critical elements of every flight. Start your pre-flight checks by checking METARs and TAFs for your departure, en-route, and destination airports. Look at visibility, ceiling, temperature/dewpoint spread, wind direction and speed, and any forecasted weather phenomena like fog, rain, or thunderstorms.
Don’t stop at surface data—review winds aloft and potential turbulence layers. If you’re flying VFR, confirm you’ll remain within legal and safe conditions. A well-interpreted weather briefing helps you avoid unexpected diversions, delays, or unsafe decisions once airborne.
NOTAM Review
Next, check NOTAMs (Notices to Air Missions) for any airport, airspace, or equipment issues that could affect your route. These include runway closures, inoperative lighting systems, TFRs, or GPS testing events that may impact navigation.
This step of your pre-flight checks is often skipped by students who assume everything will be “as usual.” But even a minor NOTAM can disrupt your flight plan or make a runway unusable. Review these notices carefully and adjust your plans if needed.
Risk Assessment (IMSAFE)
The FAA encourages every pilot to run the IMSAFE checklist before flight. It stands for Illness, Medication, Stress, Alcohol, Fatigue, and Eating. These six items help you evaluate whether you’re mentally and physically prepared to fly.
During your pre-flight checks, pause and assess: Are you sick, tired, or distracted? Did you eat? Even if your aircraft is ready, you’re still the system in control. If you’re unfit to fly, the safest decision may be to delay or cancel the flight entirely.
Fuel Planning and Navigation
Fuel is more than a numbers game. As part of your pre-flight checks, calculate your expected fuel burn based on wind, distance, and routing—then add reserves per FAA rules (30 minutes for VFR day, 45 for night). Make sure the tanks reflect this plan before departure.
Also review your navigation plan, including waypoints, checkpoints, frequencies, and alternates. Even if you’re flying with a GPS, prepare a paper backup. Planning your route carefully now avoids confusion or disorientation in the air.e a featured image generated first.
Step-by-Step Exterior Inspection (Walkaround)
The exterior walkaround is one of the most visible and hands-on parts of your pre-flight checks. This is where you inspect the aircraft for mechanical issues, fuel and oil problems, damage, or foreign object debris. Follow a consistent flow to ensure nothing is missed.
Start with the left wing. Check the fuel cap and vent, then drain a small fuel sample to test for water or debris. Inspect the ailerons and flaps for secure hinges and smooth movement. Don’t forget the static wick if installed.
Move to the nose section. Check the propeller for cracks, dents, or nicks. Inspect the spinner, air inlets, cowling latches, and oil levels. Look at the nose gear—tire pressure, shock strut extension, and no leaks.
Continue to the right wing. Inspect the pitot tube for obstructions and check the navigation and strobe lights. Repeat the same fuel, flap, and control surface checks as on the left side.
Lastly, walk to the empennage. Check the horizontal and vertical stabilizers, rudder, and elevator surfaces for freedom of movement and signs of wear. A thorough walkaround takes 10–15 minutes and should always be part of your pre-flight checks—even if someone else recently flew the aircraft.
Fuel, Fluids, and Oil Inspection
No pre-flight checks are complete without checking the aircraft’s essential fluids. Fuel and oil are your lifelines once airborne, and contamination or low levels can lead to engine failure or costly damage.
Start by visually confirming fuel levels. Don’t rely on the fuel gauge—use a dipstick or calibrated indicator. Drain a sample from each tank and sump point using a clear fuel tester. Look for water separation (clear beads at the bottom) and any discoloration or debris.
Next, inspect the oil. Open the cowling and check the oil dipstick. Confirm that the quantity falls within the manufacturer’s safe operating range. If oil is too low, don’t fly. Also look around the engine compartment for any signs of active leaks or staining.
Depending on the aircraft, you may also inspect brake fluid, hydraulic reservoirs, or coolant. These checks ensure mechanical readiness—and are a required part of FAA-standard pre-flight checks.
Interior and Cockpit Checks
Once the outside is clear, move inside the cockpit to finish your pre-flight checks. This includes safety items, switch positions, and verifying that all instruments and avionics are operational.
Start with the master switch. Activate avionics, check circuit breakers, and test each instrument for correct operation. Confirm fuel selector valve position, mixture control, carb heat, magnetos, and throttle response.
Make sure seatbelts and harnesses are accessible and not tangled. Verify that all doors, windows, and latches work properly and are secure. Check brakes for pressure and pedal responsiveness.
Set radios, transponder codes, and navigation aids before engine start. Review your taxi route and confirm any airport-specific notes. This part of your pre-flight checks gives you a head start and reduces cockpit workload once the engine is running.
Common Mistakes Students Make During Pre-Flight
Even with a checklist in hand, many student pilots make simple but risky errors during their pre-flight checks. These mistakes are easy to avoid once you’re aware of them. Below are the most common ones—numbered, explained, and corrected.
1. Rushing the Walkaround
Many students treat the walkaround as a formality. They glance over components without truly checking control surfaces, hinges, fuel caps, or tire condition. A rushed inspection increases the chances of missing obvious safety threats. Pre-flight checks must be slow, methodical, and hands-on.
2. Skipping Steps on the Checklist
Some pilots assume they know the procedure well enough to skip using a checklist. This leads to missed items like unlatched baggage doors, disconnected control locks, or incomplete oil checks. Always follow your pre-flight checklist—even if it feels repetitive.
3. Trusting the Last Pilot’s Judgment
Just because another pilot says, “It’s good to go,” doesn’t mean it is. Fuel could have drained overnight. Oil could have leaked. Fasteners could have loosened. Pre-flight checks are your personal responsibility—never rely on another pilot’s inspection.
4. Ignoring Fluid Quality
It’s not enough to check fuel quantity—you must also check quality. Students often forget to drain fuel from all required sumps, especially in multi-tank aircraft. Water, debris, or wrong fuel types can ruin your engine mid-air. Always inspect fuel and oil as part of your pre-flight checks.
5. Not Speaking Up About Uncertainty
If something feels off—strange control tension, discoloration on the wings, or an unknown switch—say something. Too many students ignore red flags out of fear of looking inexperienced. Being vocal about concerns is part of mastering safe pre-flight checks.
Final Before-Engine-Start Checklist
Right before starting the engine, run one last review to complete your pre-flight checks. These final confirmations ensure the aircraft is ready for operation and that nothing critical was missed.
First, do a final cabin sweep. Are the doors secured? Are seatbelts accessible? Are personal items stowed? Then check your documents—AROW (Airworthiness, Registration, Operating Handbook, Weight & Balance)—are onboard and up to date.
Next, verify that all switches are in the correct position. Avionics off, beacon on, brakes set, and area clear. Complete your passenger briefing (if applicable), confirm frequencies and squawk codes, and double-check weather one last time.
With everything verified and the pre-flight checks complete, you’re ready to start the engine—confident that your aircraft, your environment, and your mindset are aligned for a safe, efficient flight.
Conclusion: Build the Habit, Fly with Confidence
Pre-flight checks are not just routine—they’re a pilot’s first act of safety, professionalism, and responsibility. Whether you’re a student preparing for solo or a licensed private pilot logging cross-country hours, your habits on the ground determine how confidently you fly in the air.
Throughout this guide, we covered every key step: ground prep, briefing, fuel and fluid checks, walkarounds, interior checks, and common mistakes. More than just ticking boxes, proper pre-flight checks create a margin of safety that protects your passengers, aircraft, and license.
The best pilots aren’t just skilled in the air—they’re disciplined on the ground. Make your pre-flight checks consistent, thorough, and intentional. Safety isn’t automatic. It’s a habit you earn—one inspection at a time.
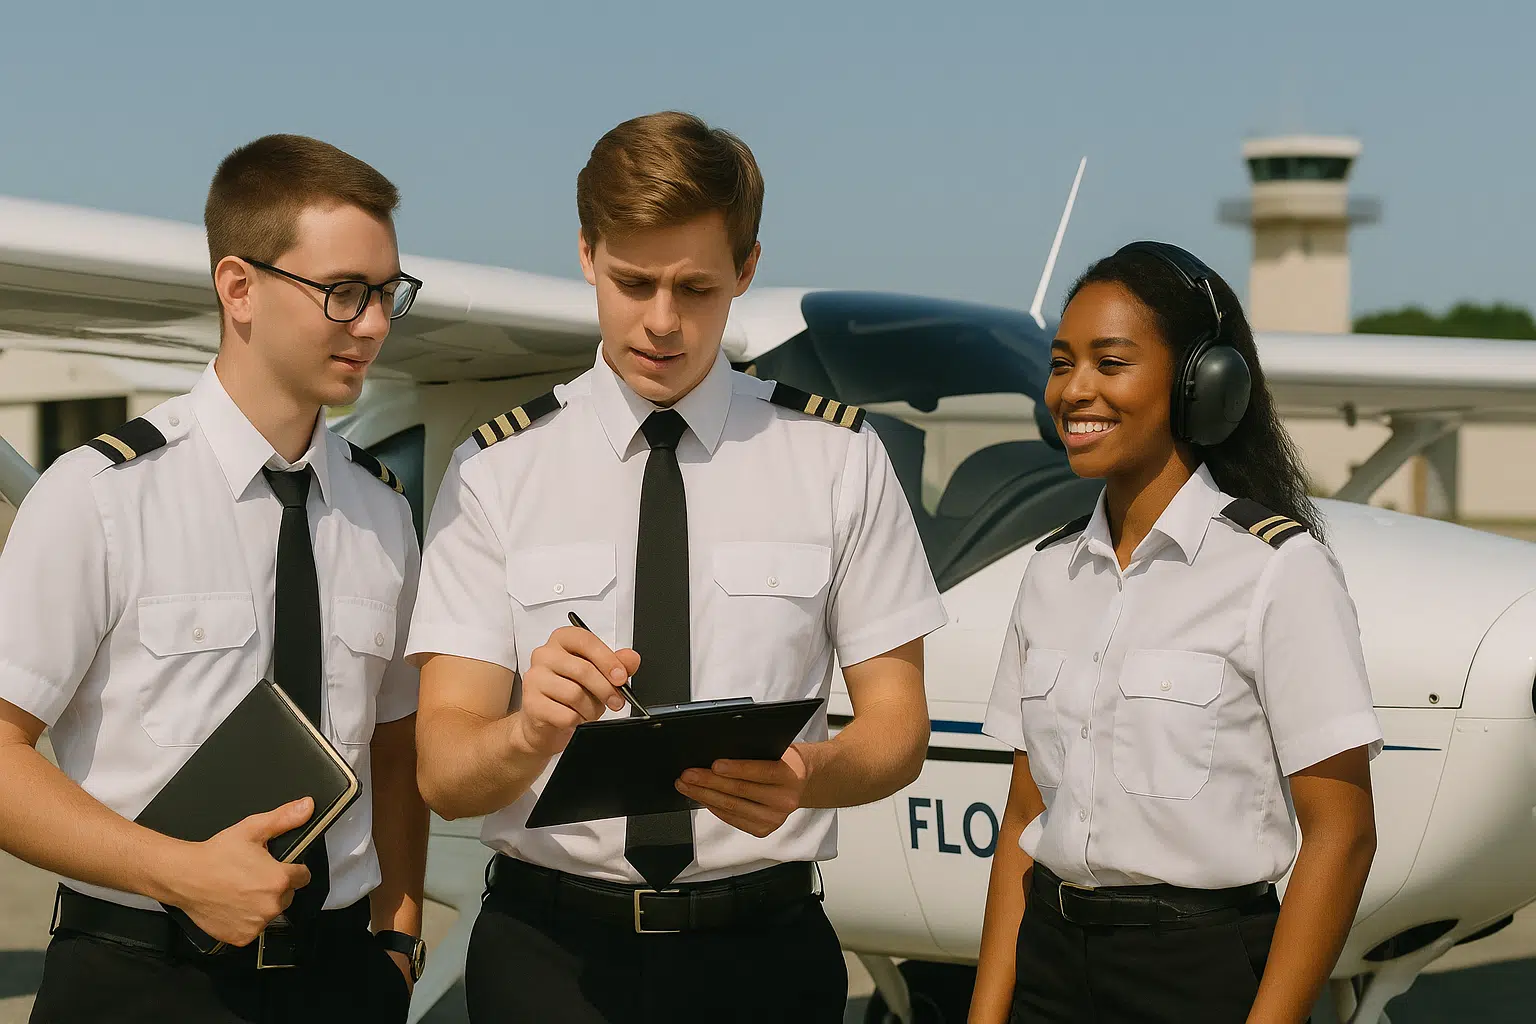
Want to build perfect pre-flight habits from day one? At Florida Flyers Flight Academy, we don’t just teach flying—we teach confidence, discipline, and safety. Our FAA-certified Part 141 programs help student and private pilots master their pre-flight checks with structured, hands-on instruction.
FAQ: Pre-Flight Checks
| Question | Answer |
|---|---|
| How long should pre-flight checks take? | A complete inspection should take 15–20 minutes. Rushing increases your chances of missing key items. |
| Are pre-flight checks required by the FAA? | Yes. Under FAR 91.103, the pilot is responsible for all pre-flight planning and inspection before every flight. |
| Can I rely on someone else’s pre-flight checks? | No. You are solely responsible for the condition of the aircraft while you’re PIC. Always do your own pre-flight. |
| What if I find a minor issue during the pre-flight? | Consult your instructor or maintenance personnel. Do not fly until you’re sure the aircraft is airworthy. |
| Is it okay to use a digital checklist? | Yes. As long as it’s complete, FAA-compliant, and easy for you to use without skipping steps. |
Contact the Florida Flyers Flight Academy Team today at (904) 209-3510 to learn more about how to transfer flight schools.