
When you’re working toward your Instrument Rating, there comes a point when the sky disappears. The horizon fades, the world turns gray, and the only thing keeping you safe are six small instruments in front of you. That’s IFR flying — and it demands precision, discipline, and complete trust in your skills.
As a pilot in training, your Instrument Rating isn’t just about passing a checkride. It’s about mastering a small set of maneuvers that will keep you safe when the weather closes in. The difference between simply getting certified and becoming a confident, capable IFR pilot lies in how well you can fly these seven essential maneuvers.
In this guide, we’ll walk through the 7 maneuvers you must nail for your Instrument Rating, with real-world tips, common pitfalls, and proven techniques — all from the perspective of someone who’s flown and taught them in real IFR conditions.
The Foundation: What the Instrument Rating Involves
An Instrument Rating in the USA is an advanced FAA certification that allows a pilot to fly under Instrument Flight Rules (IFR), relying solely on cockpit instruments for navigation and control rather than outside visual references. It is the bridge between basic visual flying and professional, all-weather flight operations.
Under FAA Part 61 and Part 141 training structures, the core requirements remain the same, but the pathway differs.
- Part 61 offers more flexibility in scheduling and pacing, making it ideal for working pilots or those training part-time.
- Part 141 is a structured, FAA-approved syllabus that can reduce the total flight hours required — often chosen by career-focused student pilots enrolled in flight academies.
Holding an Instrument Rating significantly changes a pilot’s operational privileges and safety margin. You can legally fly in clouds, reduced visibility, and adverse weather, provided the aircraft is equipped and you comply with IFR procedures. This dramatically expands your flight envelope, reduces weather-related cancellations, and increases confidence in challenging conditions.
From a practical standpoint, the Instrument Rating is where your stick-and-rudder skills meet advanced navigation, procedure discipline, and workload management. The maneuvers you will learn — such as holding patterns, precision approaches, and unusual attitude recovery — are not just to pass a checkride. They are life-saving tools you will rely on in real-world IFR scenarios, from dodging thunderstorms to safely breaking through low ceilings on an approach.
Steep Turns Under the Hood
Steep turns are one of the most revealing maneuvers in Instrument Rating training because they test your ability to maintain precise control without outside visual cues. Under the hood, you’ll be flying solely by reference to your instruments, meaning you must trust what you see on the attitude indicator, altimeter, and heading indicator—no peeking outside for a horizon.
The primary objective is to maintain bank angle, altitude, and heading within tight tolerances. Even a two-degree deviation in bank can cause your altitude to drift, and overbanking can lead to rapid loss of altitude. Many pilots new to IFR find that the lack of visual reference makes it easy to chase the instruments instead of flying a stable, smooth turn.
From an instructor’s perspective, the most common errors I see include:
- Altitude drift due to improper pitch adjustments during the turn.
- Overcontrolling the yoke, which leads to a “wobbling” turn.
- Failure to use coordinated rudder and aileron inputs, causing the ball in the turn coordinator to slide.
The key to mastering this maneuver is learning to make small, early corrections rather than large, reactive ones. Set your bank angle smoothly, trim for hands-off stability, and use a constant scan between the attitude indicator, altimeter, and heading indicator.
In the real IFR world, this skill becomes invaluable in situations like IMC (Instrument Meteorological Conditions) holding patterns or when executing tight turns during vectoring for an approach. Maintaining a stable aircraft in a steep bank without altitude deviation directly translates to safer, more controlled instrument flying in busy or weather-challenged airspace.
Constant Airspeed Climbs & Descents
Constant airspeed climbs and descents are a core skill in Instrument Rating training because they teach precise control of pitch and power while flying solely by reference to instruments. In the IFR environment, you’re often asked by ATC to “climb and maintain” or “descend and maintain” a specific altitude. Doing this accurately without visual cues is a mark of a competent instrument pilot.
The technique starts with setting the correct pitch attitude for your aircraft type while simultaneously adjusting power to achieve and maintain the target airspeed.
For example, in a Cessna 172, a climb might require full power with a pitch of about 7–8 degrees nose-up on the attitude indicator, while a descent might require reducing power to around 1500–1700 RPM and pitching slightly nose-down. The exact numbers will vary depending on aircraft weight, configuration, and weather conditions.
One mistake I see frequently is pilots chasing the airspeed indicator instead of maintaining a steady pitch and allowing the airspeed to stabilize naturally. This results in constant power and pitch adjustments that make the climb or descent less smooth and more fatiguing. Another common error is neglecting trim, which leads to unnecessary workload when trying to hold the target attitude for long periods.
From a real-world IFR perspective, this skill is critical in several scenarios:
- Approach profiles where maintaining a consistent descent rate is essential for a stable landing.
- Step climbs in busy airspace to clear traffic or terrain.
- Holding pattern altitude adjustments when directed by ATC.
The key to mastering this maneuver is to fly the attitude and power, confirm performance on the instruments, and make small, early corrections. This not only makes your checkride easier but also ensures smoother, more professional handling in actual IFR operations.
Unusual Attitude Recovery (Nose-High & Nose-Low)
Unusual attitude recovery is one of the most critical maneuvers in Instrument Rating training because it prepares you to regain safe flight parameters when spatial disorientation or distraction causes a loss of control. In actual IFR conditions, you can easily enter an unusual attitude due to turbulence, instrument failure, or even subtle misinterpretations of your flight instruments.
For a nose-high recovery, your priority is preventing a stall while minimizing altitude loss. The correct technique is to add full power, reduce pitch to prevent the stall, and adjust bank to level the wings before reestablishing your desired altitude and heading. Many pilots fail here because they instinctively pull back harder on the yoke when they see the nose rising — worsening the stall risk.
For a nose-low recovery, the focus shifts to preventing overspeed and excessive descent rates. First, reduce power, level the wings, and then gently raise the nose to the horizon. Over-controlling in a nose-low situation can lead to overstressing the airframe or inducing secondary stalls.
From my IFR experience, the challenge in real IMC isn’t just the maneuver — it’s trusting your instruments when your body’s senses are lying to you. Your inner ear may tell you you’re in a gentle bank when you’re actually descending steeply. This is where strong instrument scan discipline pays off.
A real-world example: I once had a student on a night IFR cross-country who, after a distracting radio call, slowly entered a 25° descending bank without realizing it. The turn coordinator and altimeter caught the error, but because he had practiced the recovery dozens of times, he corrected smoothly without over-stressing the airplane.
The key takeaway — unusual attitude recovery is about training muscle memory so your response is automatic, calm, and precise. In the checkride, it’s a must-pass maneuver. In the real world, it’s a potential life-saver.
Standard Rate Turns & Timed Turns
Standard rate turns are one of the core building blocks of instrument flying because they teach you to maneuver precisely in IMC without relying on outside visual cues. In the USA, Instrument Rating standards define a standard rate turn as 3° per second, meaning a 360° turn takes exactly two minutes. This predictable rate is crucial for procedure turns, holding patterns, and course changes under ATC instructions.
When performing a standard rate turn, your primary reference instruments are the turn coordinator (or turn-and-slip indicator) and the heading indicator. The key is to establish the correct bank angle immediately and then maintain it without chasing the needle — over-controlling here is a classic student mistake that leads to heading overshoot.
Timed turns come into play when your gyros fail or you’re simulating partial panel operations. Without a functioning heading indicator, you’ll use the turn coordinator and a clock to achieve your desired heading change. For example, if ATC instructs a 90° turn, you’ll maintain standard rate for 30 seconds before rolling level. This technique demands precise instrument scanning and mental math under workload — skills that directly translate to emergency IFR handling.
From an instructor’s perspective, the most common error students make is “fighting” the turn instead of trimming properly. Poor trim leads to constant corrections and an unstable turn. Another mistake is ignoring altitude, allowing it to drift while focusing too much on the turn rate.
A real-world scenario: While flying in solid IMC during an approach into Orlando, ATC issued me a vector change on short notice. With a solid instrument scan, I executed a 45° timed turn to intercept the localizer precisely without chasing the needle. In checkrides, examiners often throw in a timed turn under partial panel to see if you can handle the task calmly without rushing.
The takeaway — standard rate and timed turns aren’t just “training box checks.” They’re a lifesaving IFR skillset for precision navigation when things don’t go as planned.
Precision Holding Patterns
Holding patterns are a core skill for earning your Instrument Rating. They test your ability to maintain control, timing, and navigation accuracy while staying within protected airspace. In real-world IFR flying, holds are used for sequencing, weather delays, and procedure entries — making them a vital maneuver to master.
To fly a holding pattern well, you must be able to enter it correctly (direct, teardrop, or parallel), maintain altitude within ±100 feet, and keep your inbound course on track. Precision comes from understanding wind correction angles and making small, smooth control inputs.
Many student pilots struggle with overbanking or drifting off course in holds. The key to nailing them for your Instrument Rating is practicing in varied wind conditions and focusing on situational awareness. Think ahead to your next turn, and always anticipate how wind will affect your leg timing.
A perfect holding pattern is not about speed — it’s about rhythm, stability, and consistency. Once you can fly a hold without chasing the needles or fighting the clock, you’re building the IFR discipline that examiners love to see and that will keep you safe in the system.
Precision Approach – ILS
The Instrument Landing System (ILS) is the most precise approach method available to IFR pilots in the USA and is a cornerstone of the Instrument Rating checkride. It provides both lateral (localizer) and vertical (glideslope) guidance, allowing for descents to very low minimums — often as low as 200 feet AGL. Mastery of the ILS is critical because it’s the standard approach used by airlines, corporate operators, and charter services in poor weather.
When flying an ILS, your primary goal is to establish on the localizer as early as possible and intercept the glideslope from below. This ensures a stable approach, minimizing the need for aggressive corrections. I teach my students the mantra: “Small corrections early prevent big corrections late.” Once you’re on the beam, your scan must be disciplined — split between localizer, glideslope, attitude indicator, and airspeed. Neglecting any one of these can quickly destabilize the approach.
Common mistakes include overcorrecting for localizer deviations, riding the glideslope needle instead of making smooth pitch adjustments, and failing to adjust power proactively. The ILS rewards anticipation — for example, if you see a trend toward glideslope deviation, apply a small, timely change rather than waiting for the needle to move significantly.
A real-world example: During a night ILS into Atlanta in gusty crosswinds, my approach stayed stable because I made early micro-adjustments, rather than waiting for deviations to develop. This kind of precision not only passes checkrides but also keeps you safe in real IFR operations.
For the checkride, expect the examiner to throw in a distraction — perhaps a radio call or a minor instrument failure — to see if you can keep the needles centered without losing focus. Practice in simulated low-visibility conditions so you’re confident when the weather is down to minimums.
The ILS isn’t just another maneuver to check off the training syllabus — it’s the gold standard of precision flying and a skill that will serve you for your entire career.
Non-Precision Approach – VOR or RNAV (LNAV)
While the ILS may be the gold standard, a truly competent IFR pilot must also master non-precision approaches such as VOR or RNAV (LNAV) procedures. Unlike an ILS, these approaches do not provide vertical guidance, meaning you must manage altitude descent profiles manually while tracking lateral course guidance. This skill is essential because many smaller airports — and even some large ones in degraded operations — rely on non-precision procedures as the only available option.
In the USA, a VOR approach requires tracking a ground-based VHF Omni-Directional Range signal, while an RNAV (LNAV) approach uses GPS waypoints for lateral navigation. In both cases, without a glideslope, you must descend step-down fixes or follow a calculated descent rate to the Minimum Descent Altitude (MDA), holding that altitude until the runway environment is in sight. This demands a sharp scan, strong situational awareness, and disciplined altitude control.
A frequent error students make is “diving for the runway” too early, descending below the MDA before the runway is visible. This is an instant checkride failure and a major safety hazard in real-world IFR. Another common problem is drifting off lateral guidance while focusing too heavily on altitude. The key is to maintain a steady scan, just as in a precision approach, but with even more mental discipline since there’s no vertical needle to follow.
From my own IFR experience, I recall flying into a non-towered field in marginal conditions where the ILS was out of service. The RNAV (LNAV) was the only available approach. Careful step-down planning, coupled with timing each segment precisely, got us into visual contact at minimums — and underscored how critical it is to train for these scenarios.
For the Instrument Rating checkride, expect the examiner to test you on at least one non-precision approach, possibly with partial panel conditions, to ensure you can manage without full instrumentation. Training on these approaches makes you more adaptable, safer, and ready for any ATC-assigned procedure.
How to Practice and Pass the Instrument Rating Checkride
Earning your Instrument Rating is about more than just logging hours — it’s about building precision, consistency, and confidence under the hood. The checkride will push you to demonstrate each maneuver flawlessly, so your training strategy should focus on mastery, not just completion.
1. Structure Your Flight Lessons Strategically
Break your training flights into focused sessions that target specific maneuvers like steep turns, holding patterns, and precision/non-precision approaches. Instead of trying to cover everything in one flight, dedicate an entire lesson to perfecting one or two skills. This concentrated practice ensures each Instrument Rating maneuver is polished before moving on.
2. Use Simulators to Your Advantage
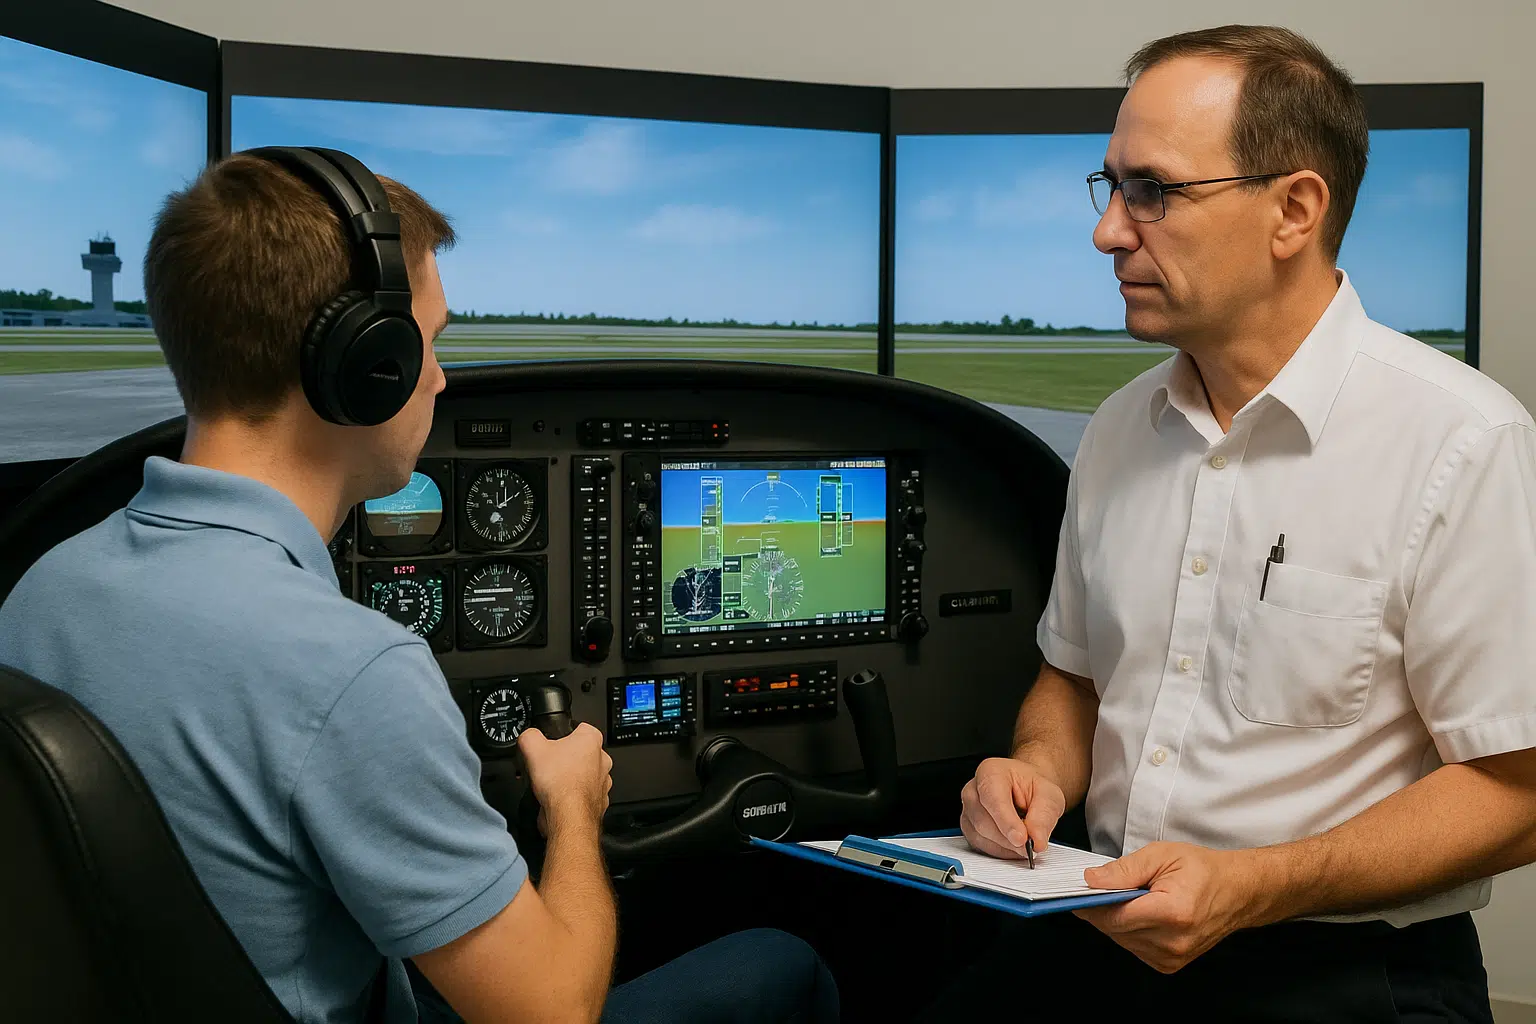
An FAA-approved simulator can be a game-changer for Instrument Rating preparation. They allow you to practice multiple approaches in a short time, pause to analyze mistakes, and simulate emergency scenarios that might be unsafe in real flight. Use the simulator to sharpen scan technique, holding entries, and partial panel skills before taking them to the air.
3. Fly in Realistic IFR Conditions
Whenever possible, train in actual IMC with your instructor. This builds comfort in cloud layers, turbulence, and reduced visibility — conditions you’ll face after earning your Instrument Rating. If weather doesn’t cooperate, use foggles for simulated instrument conditions, but remember: nothing replaces the mental workload of true IFR.
4. Master the ACS Standards
The FAA’s Airman Certification Standards (ACS) outline exactly how you’ll be evaluated. Study them thoroughly so you know the tolerances for altitude, heading, airspeed, and navigation during each Instrument Rating maneuver. Many failures happen because students didn’t fully understand the examiner’s expectations.
5. Develop Mental Checklists
Mental flow patterns like “pitch, power, trim” or “attitude, heading, altitude” will keep you ahead of the airplane. For holding patterns, create a mental routine that includes entry type, outbound timing, and inbound intercept — and run through it each time to avoid fumbling under checkride pressure.
6. Do Mock Checkrides with Your CFI
Schedule at least one full mock checkride with your instructor. Simulate the entire flight from pre-flight briefing to shutdown, including ATC calls, IFR clearances, and every maneuver. This will expose weak areas before the real test and boost your confidence.
7. Stay Ahead of the Airplane
The most valuable checkride skill is staying ahead of events. This means briefing the approach early, setting up radios ahead of time, and anticipating altitude or heading changes before ATC issues them. If you’re reacting late, you’re already behind.
A well-prepared pilot who has mastered each Instrument Rating maneuver, understands the ACS standards, and can stay ahead of the airplane will walk into the checkride with confidence — and walk out with their new privileges.
Conclusion
Earning your Instrument Rating is one of the most valuable steps you can take in your aviation journey. It’s not just about passing a checkride — it’s about developing the precision, situational awareness, and decision-making skills needed to operate safely in the National Airspace System under IFR. A pilot with an Instrument Rating has access to more flying opportunities, greater scheduling flexibility, and the confidence to handle low-visibility conditions with professionalism.
Mastering each Instrument Rating maneuver — from steep turns under the hood to precise ILS landings — takes structured training, real IFR experience, and guidance from instructors who know exactly how to prepare you for the FAA standards and beyond. This is where the right flight school can make all the difference.
At Florida Flyers Flight Academy, you’ll train with expert FAA-certified instructors who specialize in Instrument Rating instruction. You’ll have access to a modern, well-maintained fleet equipped for advanced IFR training, and you’ll benefit from a proven training syllabus that gets results. Our high first-time pass rate is a reflection of the hands-on coaching, personalized lesson plans, and commitment to excellence that our students experience every day.
If you’re ready to earn your Instrument Rating and take your pilot skills to the next level, there’s no better place to start than Florida Flyers Flight Academy. Contact us today to schedule your first lesson and get one step closer to flying confidently in any weather.
Contact the Florida Flyers Flight Academy Team today at (904) 209-3510 to learn more about how to transfer flight schools.